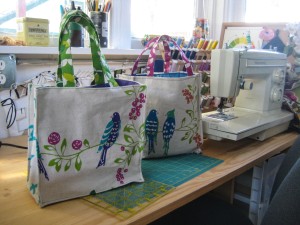
My good friend Lesley has an important birthday coming up, and I wanted to sew and mail her something special to have on her birthday. Because she is an avid knitter, the first gift I thought of was a knitting bag!
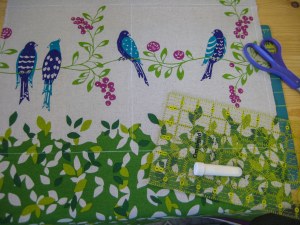
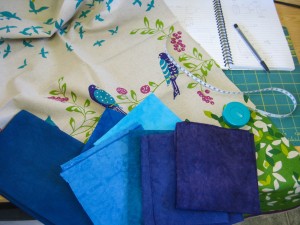 I bravely chose one of my favorite fabrics that has been in my stash for years: this birdsong print by Echino. I also pulled out some of my dyed fabric to select a color for the lining. It was kind of a no brainer though, as Lesley’s favoritest color in the whole world is purple.
I spent some time measuring, drawing, sketching, and planning, as I wanted to use the narrow 1/2 yard fabric to the last 1/4 inch.
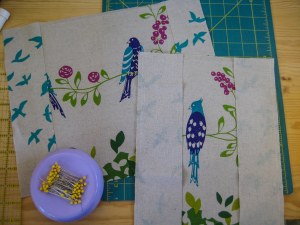 To keep the vertical orientation of the birds, each bird panel for the sides of the bag was 9 inches. I wanted to rectangle to be wider for a wider bag, so cut and sewed side panels on each which would become the sides of the bag.
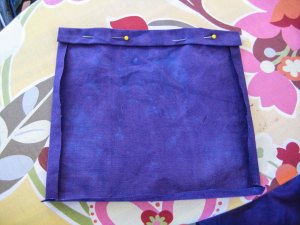 Next, I began to work on the lining. The pattern just called for two rectangles cut the size of the outside rectangles, but I knew I wanted to get a little fancy with my lining. I wanted to make two pockets, one open and one zipper. Here, I cut the open pocket square, folding and ironing in the sides. For the top side of the pocket, I folded down twice, to keep a hemmed edge, and stitched the top and bottom sides of this fold.
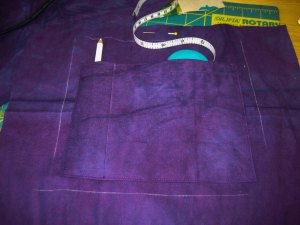 On the larger lining square, I chalked in a rough idea of where the bag edges and bottom would come to, so I could place and sew the pocket in place. I then sewed around three edges, and added in a pencil pocket on the side too!
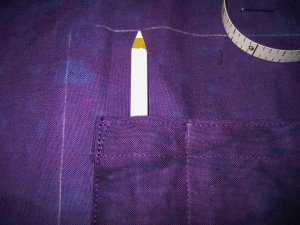 Here’s a close up of the pencil pocket. On each corner, I reinforced with a triangle of stitching to make more secure.
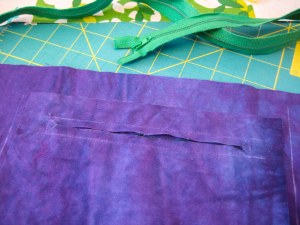 Now for the zipper pocket! I’m quite proud of this one, and floored by how easy zipper pockets are. Thanks to the power of the internet, a quick google search came up with this awesome and easy to follow tutorial on sewing a zipper pocket. The first step is to cut out your pocket square, and sketch a skinny rectangle one inch from the top of our pocket square. Draw a line through the middle, with two triangles on either end. Sew this zipper pocket half to the bigger lining square, going around the outside of the chalked skinny rectangle. Trim both layers along the middle line, and in the edges out to the corner.
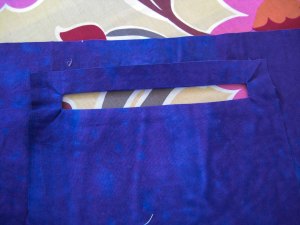 Through the hole I just cut, I turned the pocket inside out, pressing the edges neat. I then lay this over the zipper, and sewed around the edges of all four sides.
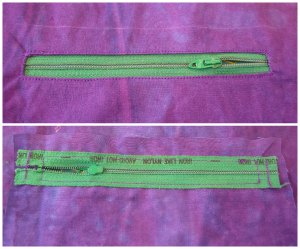 And the front and back of the zippers! Pretty nice, huh?
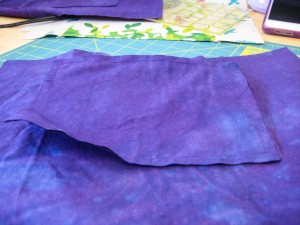 The last step for the zipper pocket is to take your second piece of pocket fabric and sew it to the first, folding and moving the larger lining square out of the way.
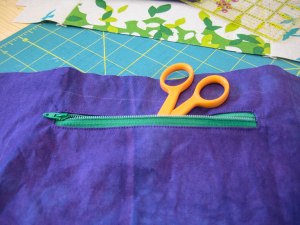 And presto chango my zipper pocket is ready to store precious knitting items. Whew. All that for lining. Now, ready to start to sew the bag!
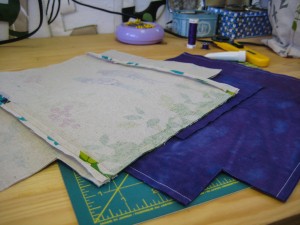 For the bag and lining squares, I sewed around three edges, then cut 2″ squares from the bottom two corners to create the gussets and shape of the bag. The pieces are then pulled apart and edges lined up matching seams and sewn again. The result is a square block open at the top. I set these pieces aside and went to work on the handles.
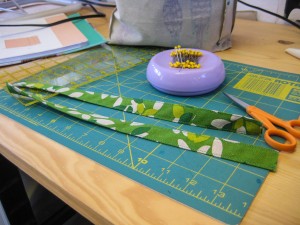
I cut the handle fabric from the bottom green portion. Folding the rectangles in half and ironing, then folding the edges in to the middle and ironing, and then folding the folds in half, I finally stitched each edge.
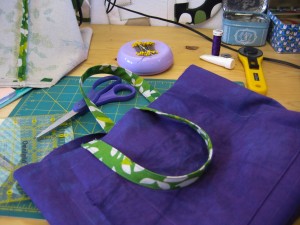 I pinned each handle to the right side of the lining, measuring from the edges to the middle and matching up each side. I sewed each handle piece onto the lining. Getting close now!
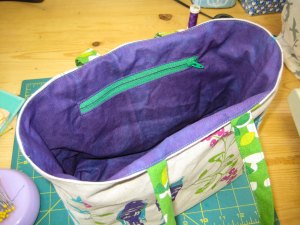 I inserted the lining into the bag, right sides facing (lining right side out and bag outside out), and sewed around the top, leaving a 4″ hole for turning (and making sure the handles were tucked inside). I flipped the bag right side out through the hole, ironed the entire seam flat, and top stitched the whole way round.
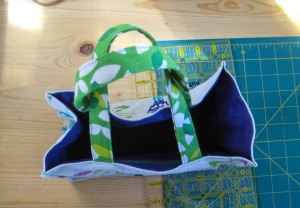 The bag is basically complete now, but there is one more step that sets it over the edge into cute. Pinching and pinning, around three sides of each side (sides and bottom), I tucked, pinned and sewed an 1/8 inch in to create a defined edge. This last simple quick step gives the bag character and support.
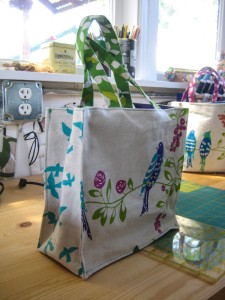 I followed the grocery tote pattern from the book One Yard Wonders, with a few variations, including overall smaller dimensions, no interfacing, and pockets. This is the second such bag I made, the first for myself as a test. The only thing I did different in the second bag was to make the pockets higher, especially the zipper pocket. On my original bag, the zipper is so low in the bag it is hard to open and close and access.
I hope Lesley will have many lovely hours knitting with this bag. Happy Birthday Lesley!
